Welcome!
The true sign of intelligence is not knowledge but imagination. Albert Einstein
Booting Up!
 |
| Refer here for input map |
- After writing img. file to SD card, pop it into the Raspberry Pi!
- Connect the TV and Raspberry PI via HDMI cord.
- Connect Keyboard & mouse/touch pad to raspberry Pi.
- It is recommended to connect Raspberry Pi to internet via Ethernet cable upon first use.
- Select correct TV input.
- Connect micro USB cable from Raspberry Pi to power source, (TV`s featuring USB ports may be able to power Raspberry PI through connection, otherwise use wall adapter).
- Boot screens should appear. First will be a colorful Pi boot screen, then OpenELEC's boot screen, and finally XBMC's boot screen. (Approximately 55 seconds) .
- XBMC should now be open, I recommend leaving it on for 5-10 minutes upon the first use to download updates and configure files fully.
- After waiting, go to "system" > "settings" > "appearance" > deselect "RSS Feed." (Frees CPU usage).
- TO SAVE ANY CHANGES MADE, YOU MUST REBOOT!
- After first time boot up is complete, go to "system" > "settings" and configure your XBMC how you wish. There are several skins although I personally like the default the most, be sure to select correct country language and time-zone in appearance settings. If you are wanting to overclock go to "system" > "openELEC" > "services" tab > select "start shh server at boot".
- Be sure to configure weather in the settings menu. Also go to "system" > "settings" > "services" > and configure your device name, "UPNP" streaming, "webserver" settings, "remote control" settings, "zeroconf" settings and "airplay" settings. (These allow you to share media between all your devices via WiFi connection). If you'd like your smart phone or apple iPhone to be a remote for XBMC, download this free remote or this remote remote and its paid unlocker from the android play store, or this free remote from the apple store.
- Play around with it, learn how to use XBMC and all it's incredible features!
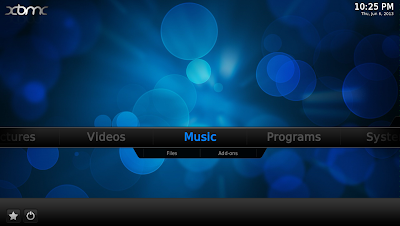 |
| Startup Screen |


No comments:
Post a Comment